










A cut tile narrower than about 50 mm snaps on the cutter, has little adhesive under it, and shows as a stripe along the wall. Sliver Guard is the part of Tile Layout Studio that finds those pieces and tries to remove them before you order.
Where the threshold is set
Material tab → Minimum cut, directly under the Installation start point buttons. Default 50 mm for Ceramic tile, Porcelain slab and LVT; 20 mm for Wood flooring, which matches what installers use for the last board strip. Range 20–100 mm. The hint under the field reads "Strips thinner than this are fragile on site (default 50 mm)."
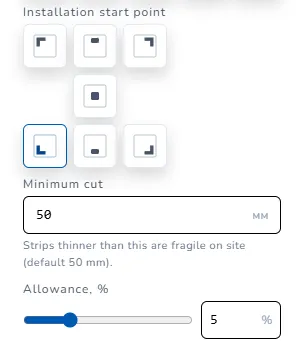
Raise it if your tiler asks for a wider floor (60 mm on large slabs is common). Lower it only when the installer has agreed to set narrow strips.
What happens automatically
Every time the layout changes, the studio checks every edge and opening cut against Minimum cut.
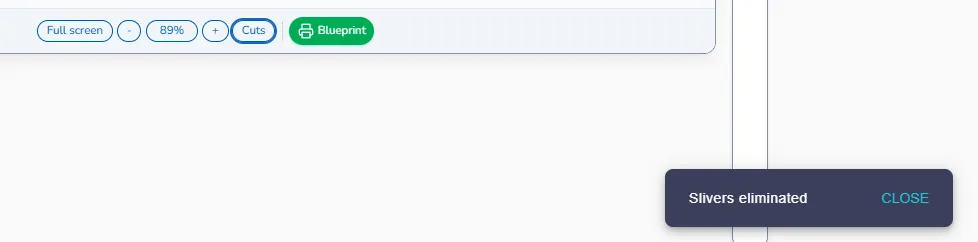
- If a different start point removes every thin strip, the grid moves on its own and a green toast appears bottom-right: Slivers eliminated. The Installation start point control updates to the new anchor, so what you see on the Material tab always matches the canvas.
- If no start point clears them, nothing moves. An orange toast and a blue panel under the start-point buttons both read "Fragile edge cuts remain — try another start point. Those cuts are listed and highlighted." The pieces are marked on the canvas and carry a FRAGILE badge in the Cut list.
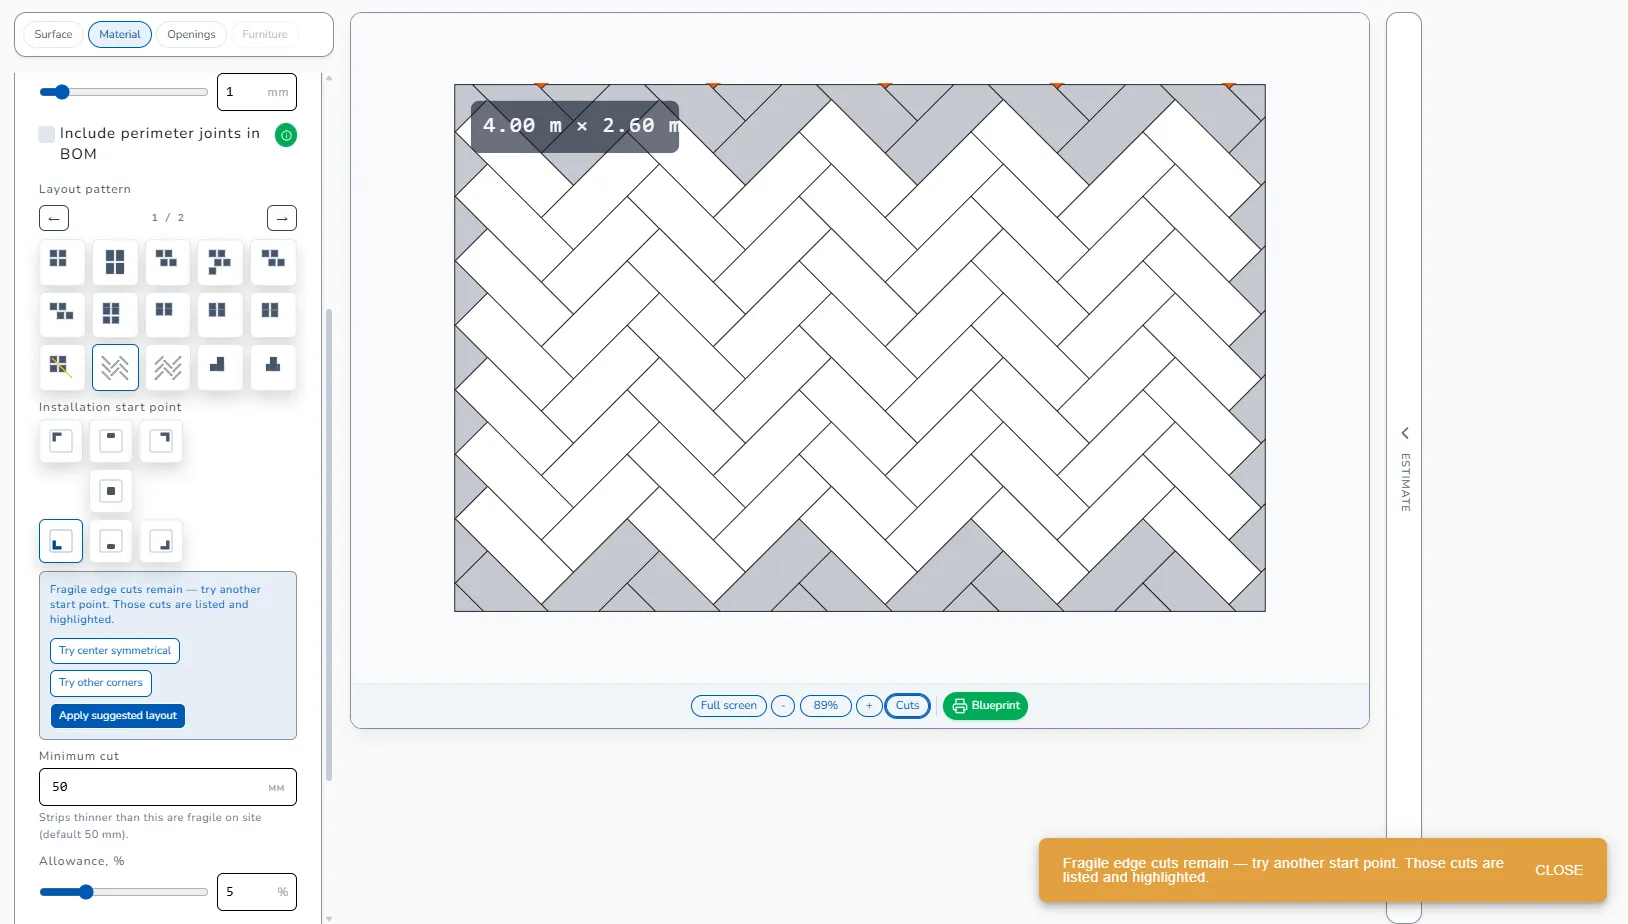
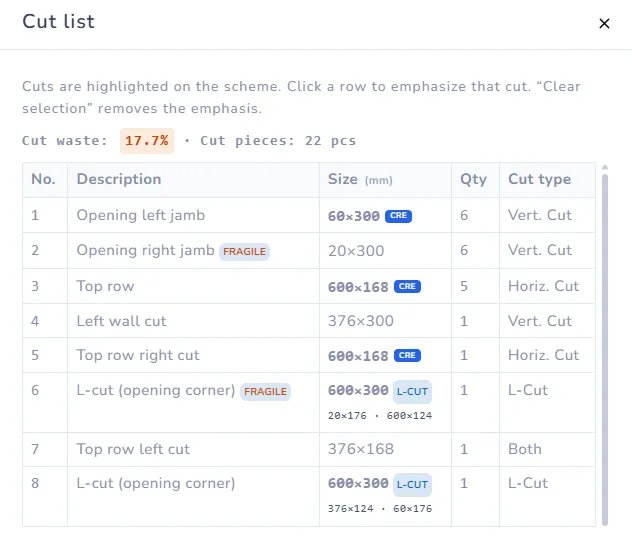
The studio never hides a cut to make the list look clean. A fragile piece stays on the list until the geometry changes.
The three fix buttons
In the blue panel under the warning:
- Try center symmetrical: starts from the centre of the wall so both edges get a similar cut. Often turns one full tile plus one 30 mm strip into two 315 mm cuts.
- Try other corners: tests the remaining corner anchors and keeps the first one that clears the strips.
- Apply suggested layout: applies the best start the engine found, when one exists that reduces but does not fully remove fragile cuts.
Each is one click and can be undone by choosing another Installation start point.
Fixing it yourself
If the buttons do not clear the warning:
- Change the Installation start point manually. Seven anchors: Top left, Center top, Top right, Center, Bottom left, Center bottom, Bottom right. Watch the yellow origin marker on the canvas move.
- Move the opening a few millimetres with X left / Y top if the real position allows it. A jamb cut of 40 mm can become 90 mm with a 50 mm shift.
- Change the tile format or the pattern. Herringbone 45° and Diagonal near a door almost always leave triangles under 50 mm; Grid or Brick ½ row on the same wall often does not.
- Change the Joint. A 3 mm joint instead of 2 mm across eight tiles shifts the last cut by 8 mm. The studio never changes the joint for you because it changes the grout quantity.
- As a last resort, lower Minimum cut after agreeing it with the installer.
Example
Wall 2.45 × 2.50 m, 600 × 300 mm tile, 2 mm joint, Grid, Bottom left.
- Row: 4 full tiles = 2.408 m, leaving a 42 mm strip on the right. Fragile.
- Try center symmetrical: two edge cuts of about 321 mm each. Cleared.
The piece count barely changes; the number of cuts per row goes from 1 to 2. That is the usual trade: one more cut, no fragile strip.
Wood flooring and LVT
For boards the pattern Free length carries the offcut from one row into the next. Two checkboxes under the pattern control this: Do not carry remainders shorter than 50 mm and Avoid visible cuts shorter than 50 mm. Untick them only if you deliberately use short remainders.
In the Project Blueprint
Fragile marks are printed in the Blueprint's Cut list exactly as on screen. Export after the warning is cleared, or tell the installer which pieces are marked.
Herringbone on a floor
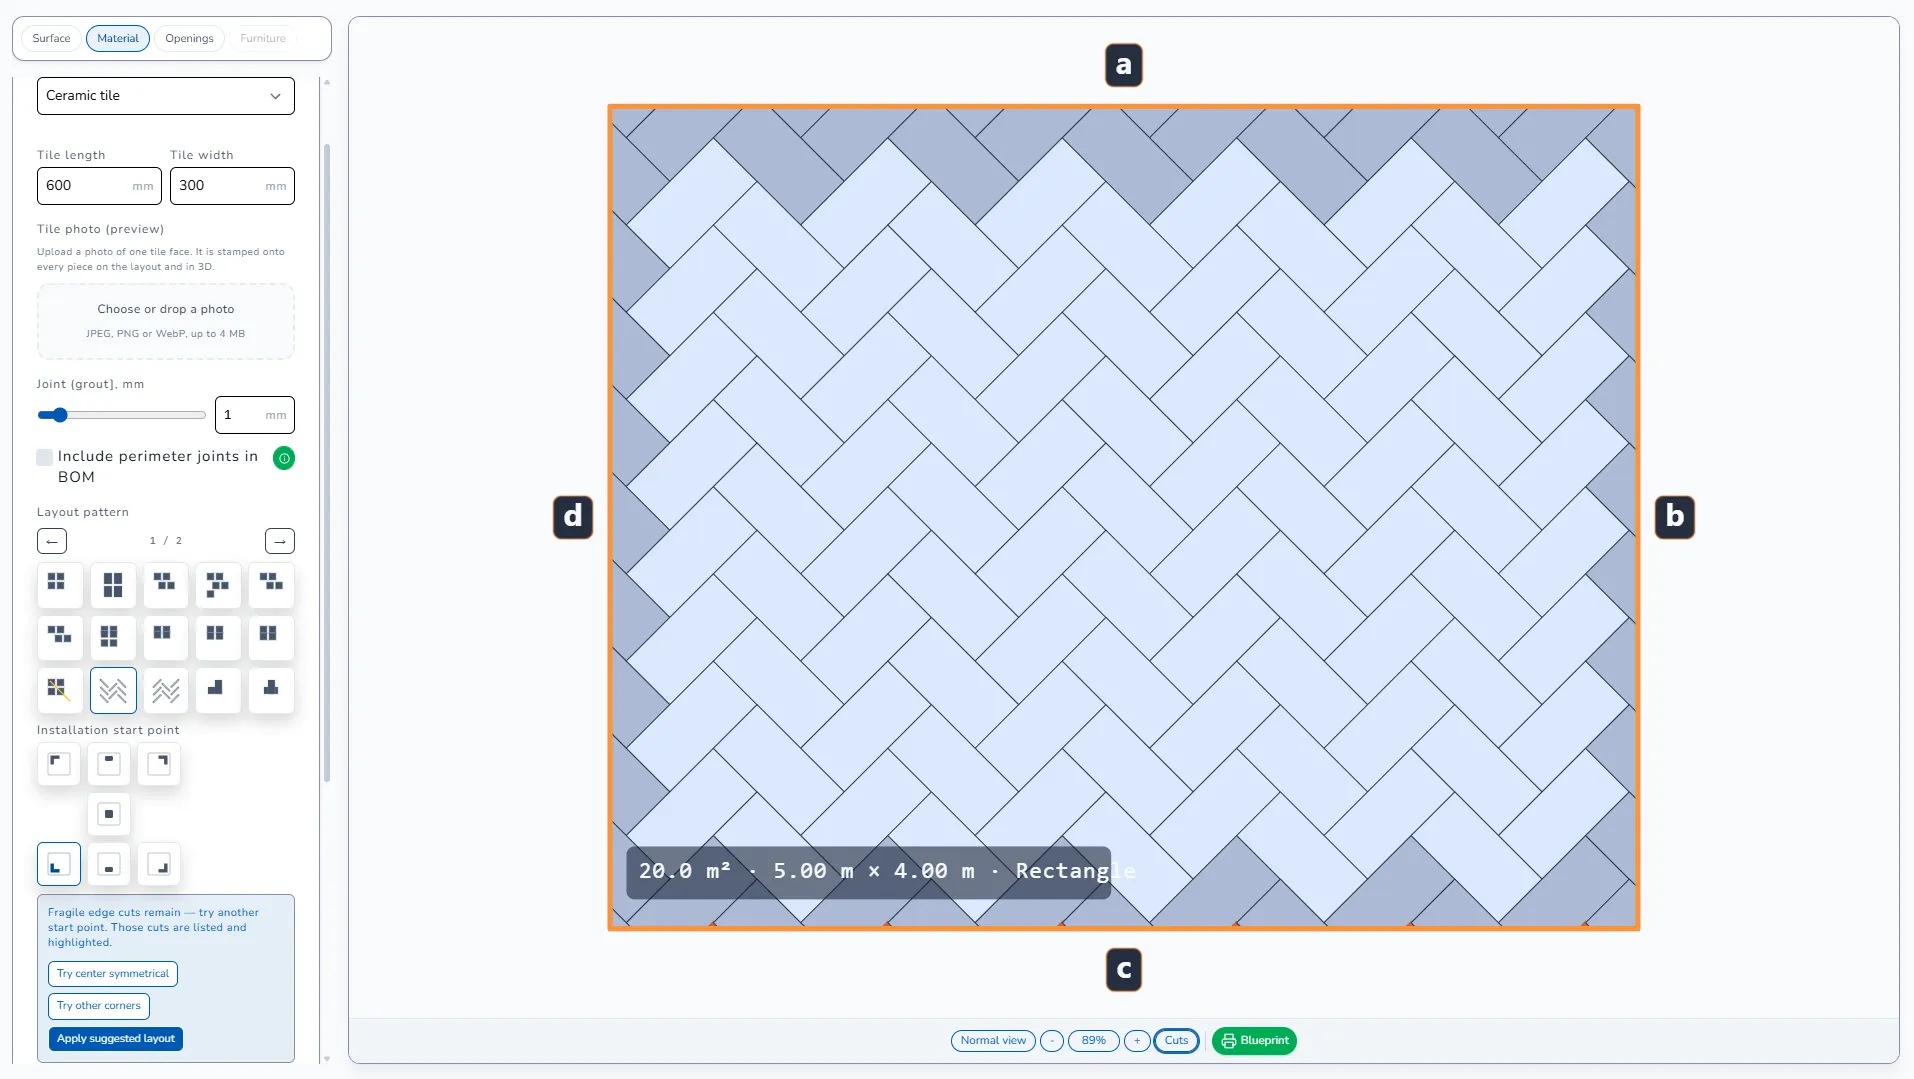
Herringbone 45° is where you will see the warning most. On a 5.00 × 4.00 m floor the studio may clear one wall but not the opposite one, because the pattern repeats diagonally and every edge is a triangle. Try the three buttons first; if the warning stays, decide with the installer which edge gets the small triangles (usually the one under a kitchen plinth or behind a door), and export with the marks in place.
Next: Create your first layout · Add doors, windows and hatches · Choose a pattern
