










The room size does not change when you change the pattern. The number of tiles, and the number of cuts, does. Choose the look, then read the Estimate before you pay for boxes.
Select layout pattern
Material tab, Layout pattern. Two pages of thumbnails. Click one. Hovering a thumbnail shows the name and the allowance the studio proposes for that pattern, for example "Grid · Allowance +5%". That allowance lands in Allowance, % underneath. You can still move the allowance yourself.
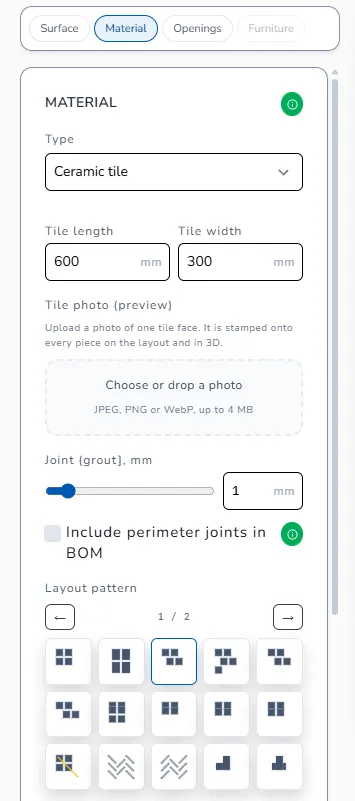
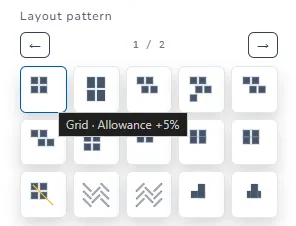
Supported layout patterns
- Grid — joints line up. The usual starting point for a bathroom wall.
- Grid vertical — the same joints, with the tile stood on end, so a long slab runs up the wall.
- Brick ½ row, Brick ⅓ row, Brick ¼ row, Brick ⅕ row — each row shifts by that fraction. Half-row is the common brick bond.
- Brick ½ column, Brick ⅓ column, Brick ¼ column, Brick ⅕ column — the same shifts, running up the wall instead of across.
- Diagonal and Diagonal (mirror) — the grid turned 45°. The edges of the room become triangles.
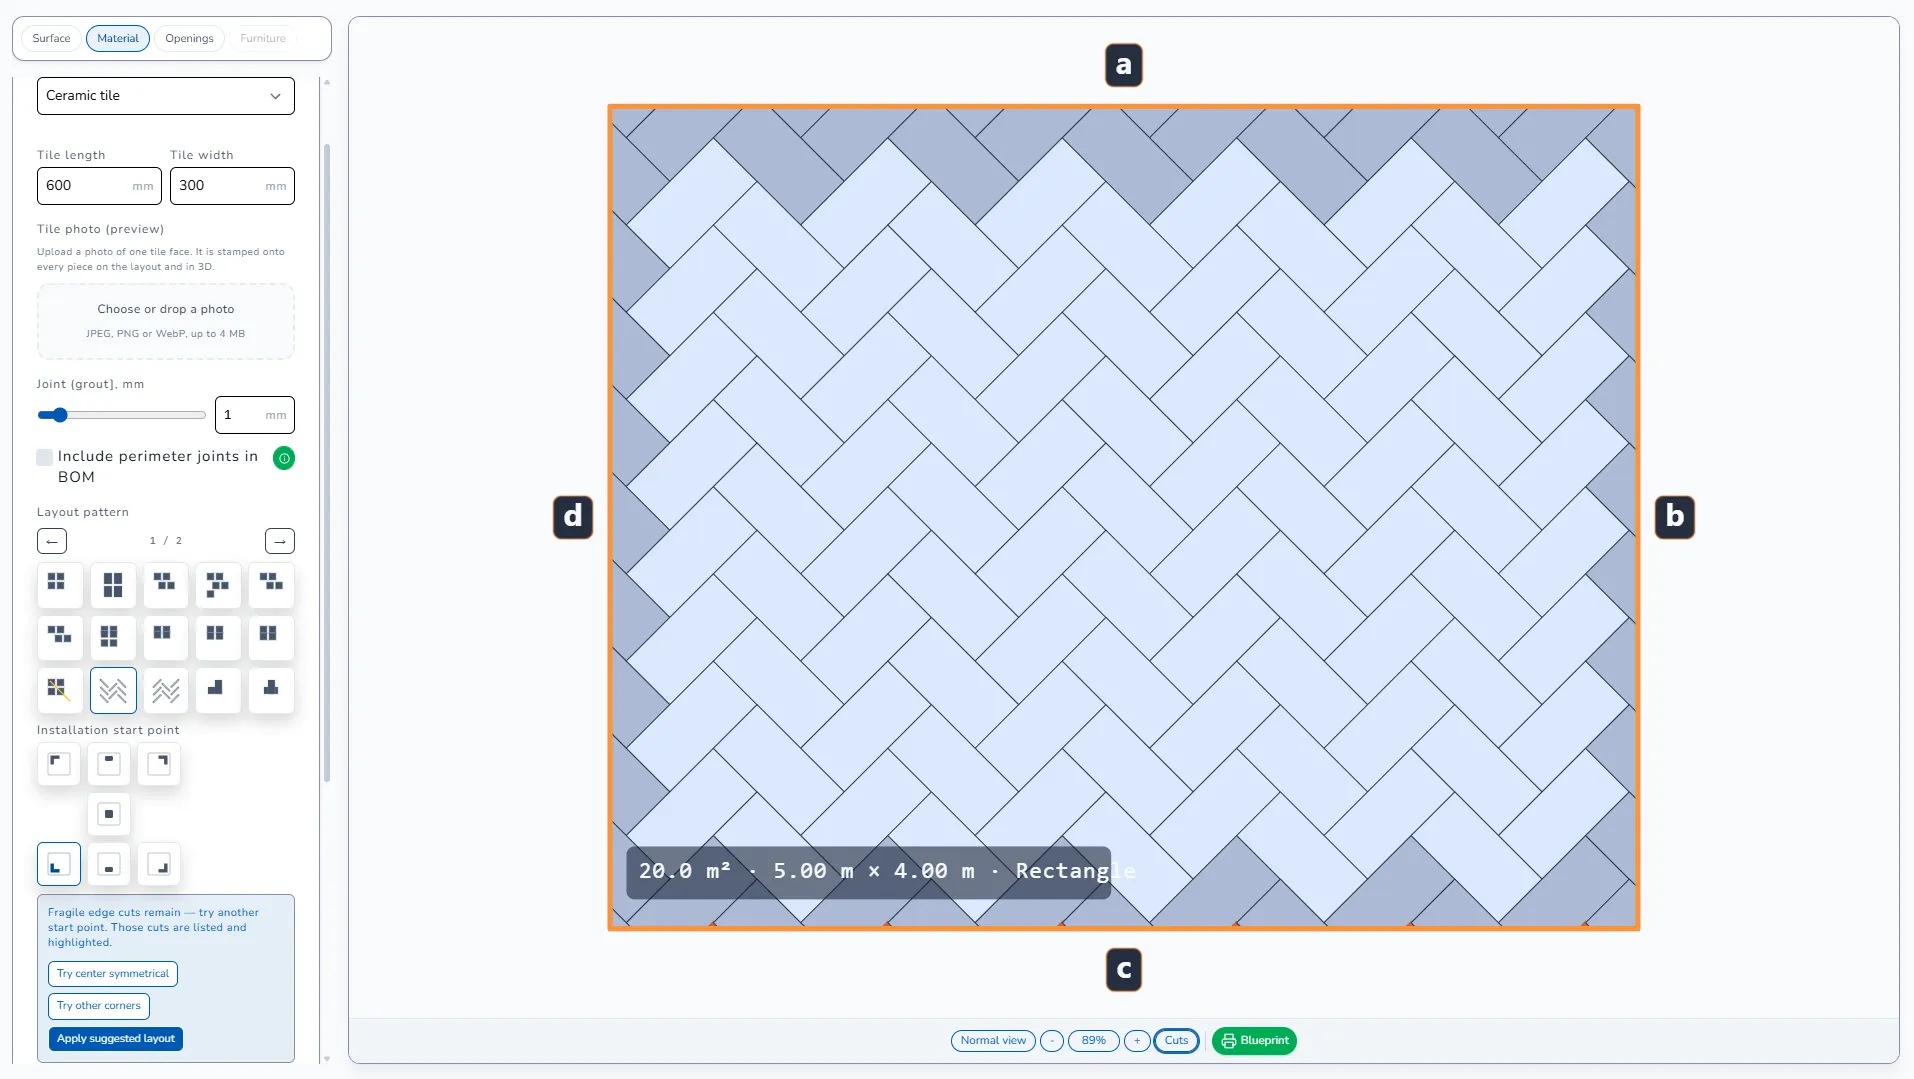
- Herringbone 45° (base) and Herringbone 45° (mirror)
- Axial herringbone (base) and Axial herringbone (mirror)
- Free-length (economy) and Free-length (mirror) — for Wood flooring and LVT. The leftover of one row starts the next row.
Same room, different box count
Set the room once. Switch the pattern. Read Total tiles, Full tiles and Cuts on the Estimate each time.
A floor of 4.00 m × 3.00 m in 600 × 600 mm tile with a 2 mm joint:
- Grid is mostly full tiles plus straight cuts at the walls.
- Diagonal turns those wall cuts into triangles. The piece count goes up on the same floor.
- Herringbone 45° cuts on an angle along both walls. Do not reuse a Grid box count for it.
If a store quote is square metres plus 10%, diagonal and herringbone are the two that run short mid-job. The Estimate for the pattern you clicked is the order.
Thin cuts
A pattern that looks right can still leave a strip under Minimum cut. The studio warns, and the three buttons under Installation start point try to clear it. Herringbone on a floor is the pattern that keeps the warning most often. Read Thin cuts and Sliver Guard and settle it before you buy.
Next: Your first layout · How many tiles
